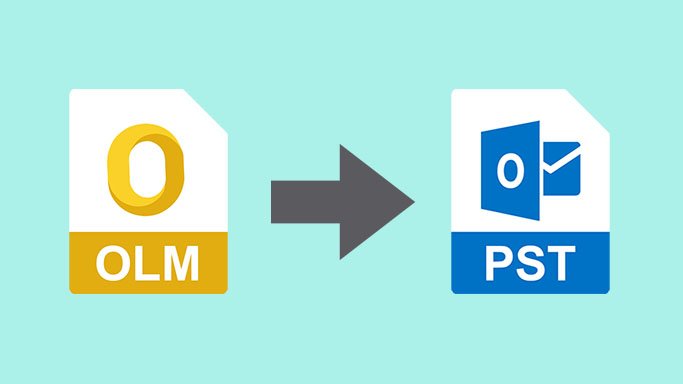
The Best Approach to Convert Apple Outlook to Microsoft Outlook
The Best Approach to Convert Apple Outlook to Microsoft Outlook

The blog will show you how to convert Apple Outlook to Microsoft Outlook safely and without losing data. We’ll go over the OLM to PST conversion procedure and provide the most convenient and risk-free method to convert OLM to PST.
Microsoft’s Outlook email software is available for both Windows and Mac. The only difference between these two applications is the data file format used to store and save mailbox content such as emails, calendars, contacts, events, diaries, to-do lists, and so on. The PST (Personal Storage Table) file format, which is utilized by Windows as an Outlook data file, should be recognizable to you. However, some users may be unaware of the file format used by Outlook on Mac. The OLM file format is the answer. In Mac, Outlook saves user mailbox data in the OLM file format.
However, keep in mind that you will not be able to open an OLM file in any version of Windows Outlook. Only the PST and MSG file formats are supported by Windows Outlook. The OLM file can, however, be imported from Mac Outlook to Windows Outlook. However, it must be done with extreme caution and in the correct manner; otherwise, these files may get corrupted, and the data held in them may be seriously harmed.
Why is it Necessary to Convert Apple Outlook to Microsoft Outlook?
Let’s have a look at the causes behind this conversion before I cover how to import mail items from Outlook for Mac to Outlook PST in Windows.
If you previously used Outlook on a Mac but now need to move to Outlook for Windows for some reason. In this case, you’ll need to convert for free.
If you receive an OLM file from someone but are unable to see or open it using Windows Outlook. To read the data included in the OLM file, you must convert OLM to Outlook PST in this situation.
Techniques for converting OLM to PST by Native
Manually converting Outlook for Mac to Outlook for Windows entails four key stages that must be completed one after the other. The steps are as follows:
Step 1: Using your Gmail account, Create an IMAP account.
- To begin, go to your Gmail account and click the gear symbol in the upper right corner.
- Click on the Settings button.
- Select the Forwarding and POP/IMAP tab from the Settings tab.
- You must now check the status of IMAP Access. If it’s turned off, turn it on.
- After you’ve set up your IMAP account, you’ll need to set up Outlook for Mac. Follow the steps below to accomplish this:
Step 2: Set up an IMAP Email Account and Outlook for Mac on your Mac.
- To begin, launch Outlook for Mac and go to Menu -> Tools -> Accounts.
- Select the Email option from the drop-down menu.
- Now, provide an email address, a password, and any other information requested. Select the Add Account option after that.
- Check the status of the IMAP mail account after you’ve completed the following steps.
- Now you must establish a Gmail label in order to sync your IMAP account with Outlook for Mac. To do so, follow the steps below.
Step 3: Create a Gmail Label
- Open your Gmail account once more. Select the settings option from the gear symbol in the top right corner of your Gmail account.
- Click on Labels and then Create a New Label beneath this tab. Also, go to your Mac Outlook and click on the Send/Receive option.
- Now we’ll transfer the contents of the mailbox from OLM to the IMAP mailbox folder. Follow the instructions outlined below.
Step 4: Export Emails from Apple Outlook to Microsoft Outlook
- Open Outlook for Mac and log in. Now, right-click on the mailbox data you wish to transfer to Windows Outlook and select “Transfer to Windows Outlook.”
- Select the Move option and then Copy to Folder.
- Now, type in the name of your IMAP folder and select Copy from the drop-down menu.
- Then, to update the mailbox, reload the Gmail folder or click on send/receive.
- All of the contents of your cloned mailbox have now been synced to your IMAP mailbox.
The Manual Method’s Major Drawbacks
- We Should be done with extreme caution, as even a slight error might result in data loss and damage. As a result, having a backup of the OLM file is recommended.
- This is a lengthy and time-consuming procedure. It also necessitates a high level of technical understanding.
- For corrupted OLM files, this method is ineffective.
OLM to PST Converter for Professionals
As previously stated, the manual process of converting OLM data to PST files necessitates meticulous attention and care. It may result in data loss and corruption if not done correctly and in a timely manner. For a successful Apple Outlook to Microsoft Outlook conversion, it is recommended to use a free OLM to PST converter. This is one of the most useful and dependable solutions for converting OLM files to Outlook PST. It allows users to open and examine OLM data files for Mac Outlook in Windows Outlook while maintaining the integrity of the data. It transforms OLM files, even if they are corrupted, unlike the manual method. Apart from the PST file format, you can save the OLM to additional formats such as MBOX, EML, and MSG.
Verdict
The OLM and PST have been thoroughly covered in this article. Also included are manual and automated ways for converting OLM from Outlook for Mac to PST in Windows Outlook. The final conclusion is that it is wise to utilize the best OLM to PST converter online to effectively export Apple Outlook to Microsoft Outlook.


